Remote prototype
Specifications
After the test with the buttons (remote requirements), all hardware requirements were present and the actual design of the remote could be kicked off. All measurements were taken based off the ESP32 NodeMCU and prototyping board:
- ESP32
- width: 28mm
- Length: 52mm
Roughly 1 mm tolerances were determined. Total height of the full stack (esp, proofingboard, button): between 23mm and 25mm. Rough remote dimensions: width: 41mm, length: 59mm and height: 13mm.
Creating the prototype
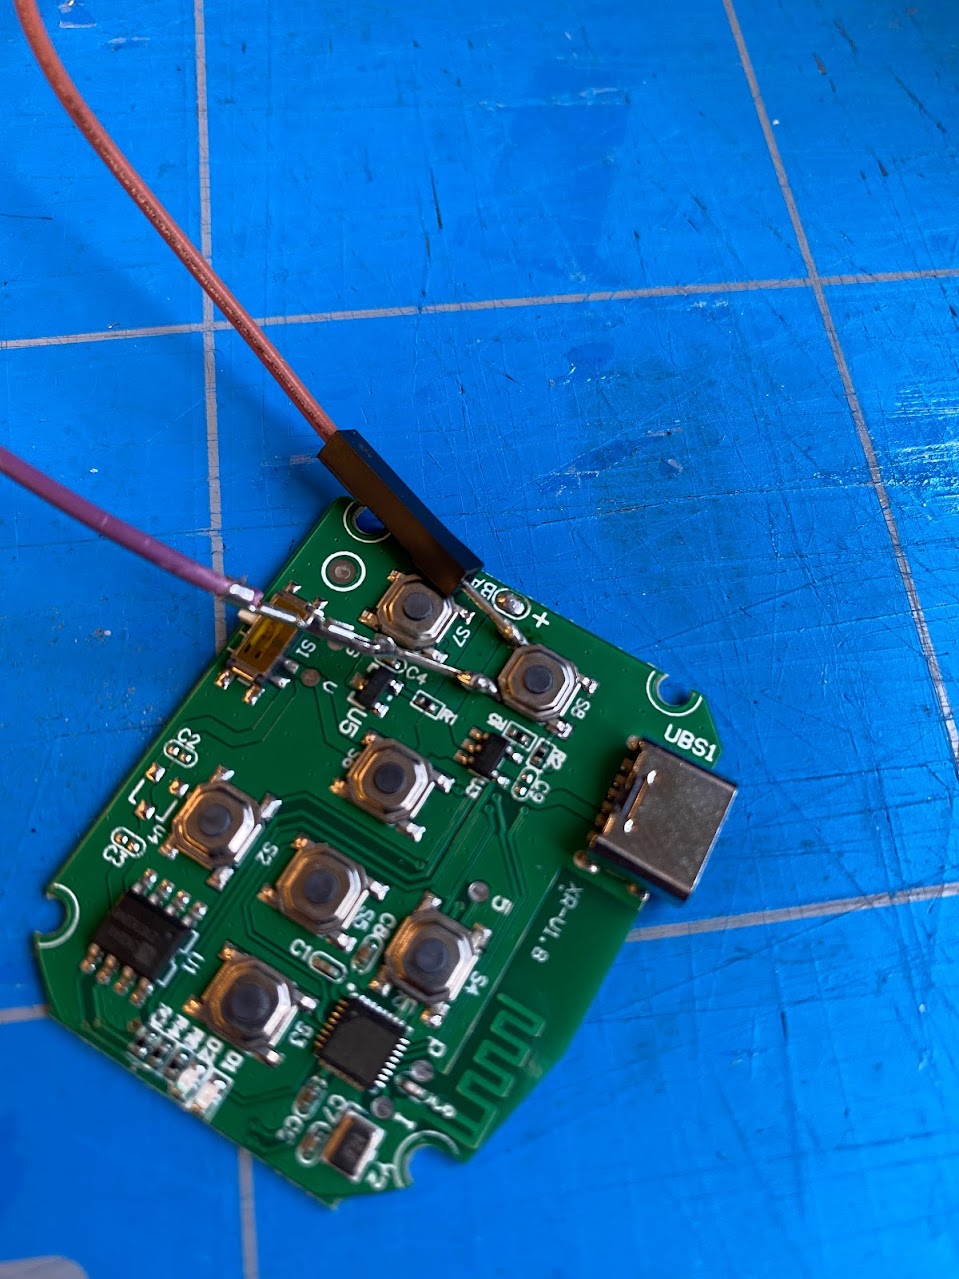
Developing the prototype started with assembling the buttons to the prototyping board. The decision was made to use 5 buttons (up, down, left, right, select (1x press middle button) and return (2x press middle button)).
 Because of the ESP32 board we were going to use, the buttons were attached to the top of the prototyping board and connections would be soldered on the other side.
 On the other side, the ground and input pin connections of all buttons were soldered in place.
<
 The ESP32 board would be inserted from this side, and the connections with resistors soldered on the other side to the pins of the board. This all to save space and make the solution as efficient as possible with the tools provided.
 Eventually with all components attached to the board and the prototype board cutout, it was ready to be inserted in the case.
 The end result is the ESP with buttons attached in right configuration in the designed case.